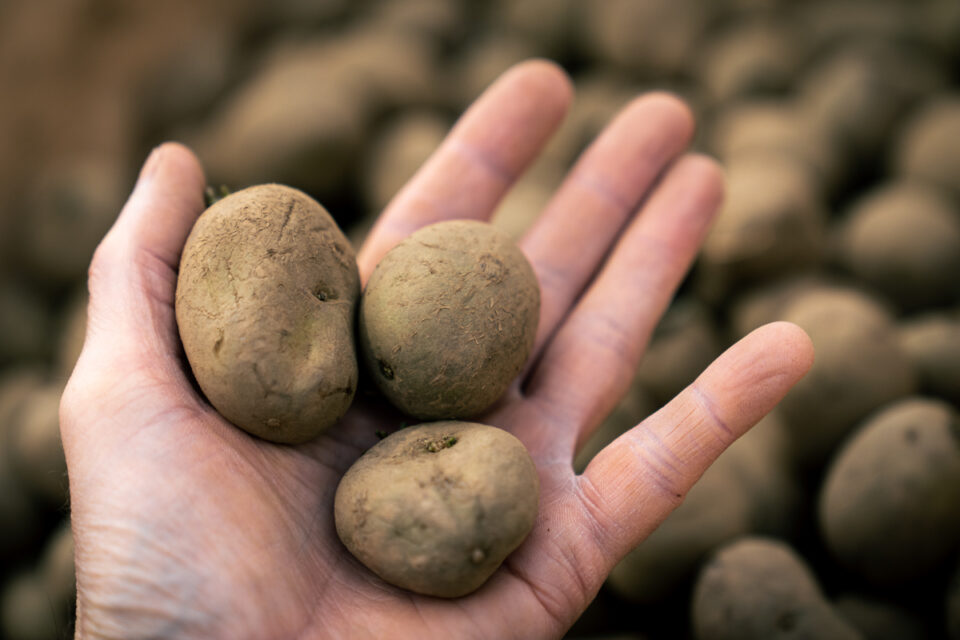
There’s nothing more satisfying than growing your own vegetables. And it’s well-known that gardening is beneficial to our sense of wellbeing. Not to mention the joy of eating home-grown food, fresh from the garden.
January is the time to start planning your vegetable garden for the growing season ahead. Potatoes are versatile and generally an all-round favourite to grow. Whether you choose to eat your home-grown spuds with skins on, skins off, dripping in butter, roasted or baked, they are well worth growing.
Here’s our simple step by step guide to growing seed potatoes for a successful harvest.
Step one:
There are three main types of potatoes:
- First early
- Second early
- Main crop
If you are not sure, our clever in store signage will describe and highlight what the potato can be used for e.g. roasting, mash, chips, boiled etc.
Step two:
First and second early potatoes, you will need to ‘chit’ (where you encourage the potatoes to spout before planting).
You should do this from late January to early February, about six weeks before you intend to plant out your potatoes.
We recommend sitting your seed potatoes blunt side up in old egg containers, until the shoots are
1.5-2.5cm long.
Step three:
It is important to prepare the ground before planting your chitted potatoes. Feed the soil with Grow More, ensuring it is well mixed in.
Your potatoes are ready to plant from late March to early April, once the ground temperature is above 8 degrees. Make sure they are each planted at 3-4″ underground and a space of 12″ apart in rows.
Step four:
Harvesting time takes 8-10 weeks from planting. You will notice above-ground growth is still green, and the flowers beginning to open.
Second and main crop potatoes can stay in the ground until September.
Don’t forget to cut the growth off at ground level two weeks before you lift the crop. This should ensure less damage, making your crop good to eat!
Pop in store to browse our full range, or shop our selection of seed potatoes online for Click & Collect or delivery.

